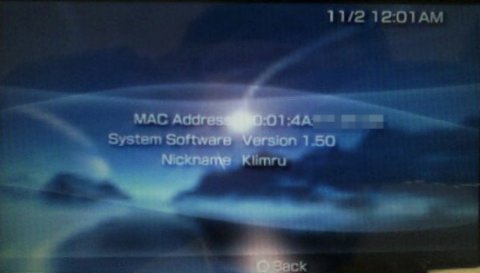
On the PSP, navigate to Game Memory Stick and hit the X button. You will see PSPersonalize and a file called Corrupt Data next to it. Ignore the Corrupt Data file, select PSPersonalize, pause for a moment to notice the cool background and audio for PSPersonalize, and then hit the X button.
The same PSP animated screen that plays whenever you run a game will be displayed. After this graphic is displayed, a black screen with white and yellow text will appear:
copy
ms0:/01.bmp
to
flash0:/vsh/resource/01.bmp
are you sure?
O= OK, X = Cancel
The first location, ms0:/, is the root directory of your Memory Stick, and the second location, flash0:/vsh/resource/, is the folder where the background images are stored on the internal flash memory of your PSP. Hit the O button to replace January's graphic with the picture you have named 01.BMP and placed in the root directory of your Memory Stick.
After you hit the O button, "please wait…" will appear momentarily in the upper-left corner of the screen while the file is copied over, and then you will be returned to the previous screen, only now it will read 02.bmp as the file is being copied over. Continue hitting O at each screen until you have replaced all 12 files. Once this is done, a small note will appear in the upper-right corner of the screen, reading "finished…". Hit the Home button on your PSP. A prompt will come up asking "Are you sure you want to quit the game?" Select Yes and hit the X button. You will be returned to the main menu of your PSP.
Now all the new images should be copied over to your PSP's internal flash memory, so the next time you mount your Memory Stick on your computer, you can feel free to delete all the .BMP files that you placed there for the transfer.
Remember, if you want the same background year-round, simply make 12 copies of the same file and name them 01.BMP through 12.BMP. Likewise, if you want the background graphic to change only in July, make just one file, 07.BMP, and hit X each time you are prompted by PSPersonalize to copy the file until it asks whether you want to copy ms0:/07.bmp. Now that you know how to use PSPersonalize, you can replace the images of individual months whenever you like.


No comments:
Post a Comment