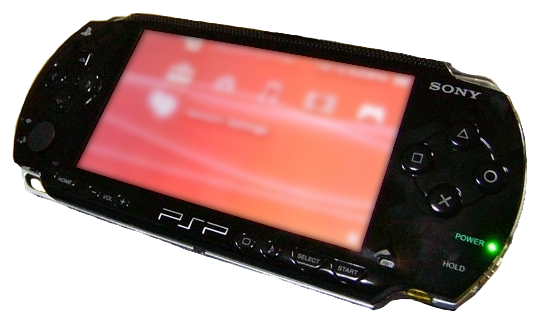
You need to trick Wipeout Pure into loading your Web page instead of the one it expects. You do this by spoofing the location of the server that the game looks for. Once it finds your page, the sky’s the limit.
It’s probably not a good idea to make your DNS server publicly available. Not only may the traffic get unmanageable, but Sony’s legal team may call you telling you to cease and desist. If you leave this on your local network, or at least undisclosed to all the hack boards out there, you should be safe, but there are no guarantees if you open your hack up to the public.
If You’re Using Windows
Follow these steps:
1. Make sure MooPS is running.
2. Configure MooPS’ Server Settings menu
If you’re using a Web server other than MooPS, set the MooPS Port under Web Server to 33333 so it doesn’t conflict with your Web server.
If You’re Using BIND on Unix or Mac OS X
In the case of BIND, you will be creating a zone file to spoof Sony’s Web site,
ingame.scea.com. I will assume that if you have a BIND instance running, you already
know how to configure BIND, so we won’t go over it here. There are many fine books on setting up BIND, so hop onto Amazon.com or go to your local bookstore and you’ll find some excellent guides.
The zone file for BIND should have the following contents:
; scea.com zone file
$TTL 86400
@ IN SOA scea.com hacked.scea.com (
2005070942 ; serial number YYYYMMDDNN
28800 ; refresh interval
7200 ; retry interval
86400 ; expire timeout
86400 ; min. time to live (ttl)
)
; spoofed entries to point traffic to our local server instead of out on the Internet NS 192.168.2.1 ; says where the name server is (us, haha)
A 192.168.2.1 ; points the root to this IP address Ingame A 192.168.2.1 ; resolves ingame.scea.com to our local server Webcluster A 92.168.2.1 ; resolved webcluster.scea.com to our local server
Next you need to update your named.conf file and add the scea.com zone, as shown in the following code. Enter the text at the end of the file’s contents and then save the file. Like the zone file, be sure to use the tab key, not multiple spaces, when adding the entry.
zone “scea.com” {
type master;
file “scea.zone”;
};
 Do you have and enjoy a PSP? Do you maintain it properly? These are not inexpensive devices, and you would not want them to burst accidentally, would you? Here are a few hints for keeping your PSP in superior working shape.
 * Anytime you save a game, one or two images are made on your memory stick: ICON#.PNG - the 144x80 image showed when you choose your saved file. The #, commonly 0, can be higher whenever a game puts more than one saves in single folder. PIC 1. PNG - the 480x272 background that is showed if you cursor over your save or game disk. Aware of this, you may custom-make your save images and backgrounds by merely substituting them with fresh . PNG files. Nevertheless, be sure that you retain the new file to a lesser degree or same to the master copy file's resolution, or the PSP will chop off sections to make it fit.
 Utilise the following directions to have fun with your PSP games and films with your vehicle sound system. You'll require a FM modulator, a audio cable with a male stereo 1/8" earpiece connector at one end and divide right and left RCA connectors at the other. The red cable with the 'in' line fuse attached to your automobile battery or switch. The ground wire is grounded to the car frame. Adjust the vehicle's tape or CD set to the frequency modulation frequency that is on the modulator. The relative frequency is usually 88.7 or 89.1 MHz. Put in the RCA connectors by the audio cable into the RCA jacks located on modulator. put in the headphone end of the cable right into the PSP. Then, you can turn on the PSP with the volume set at half way.


